<<<<< AFT FORWARD >>>>>
<<<<< AFT FORWARD >>>>>
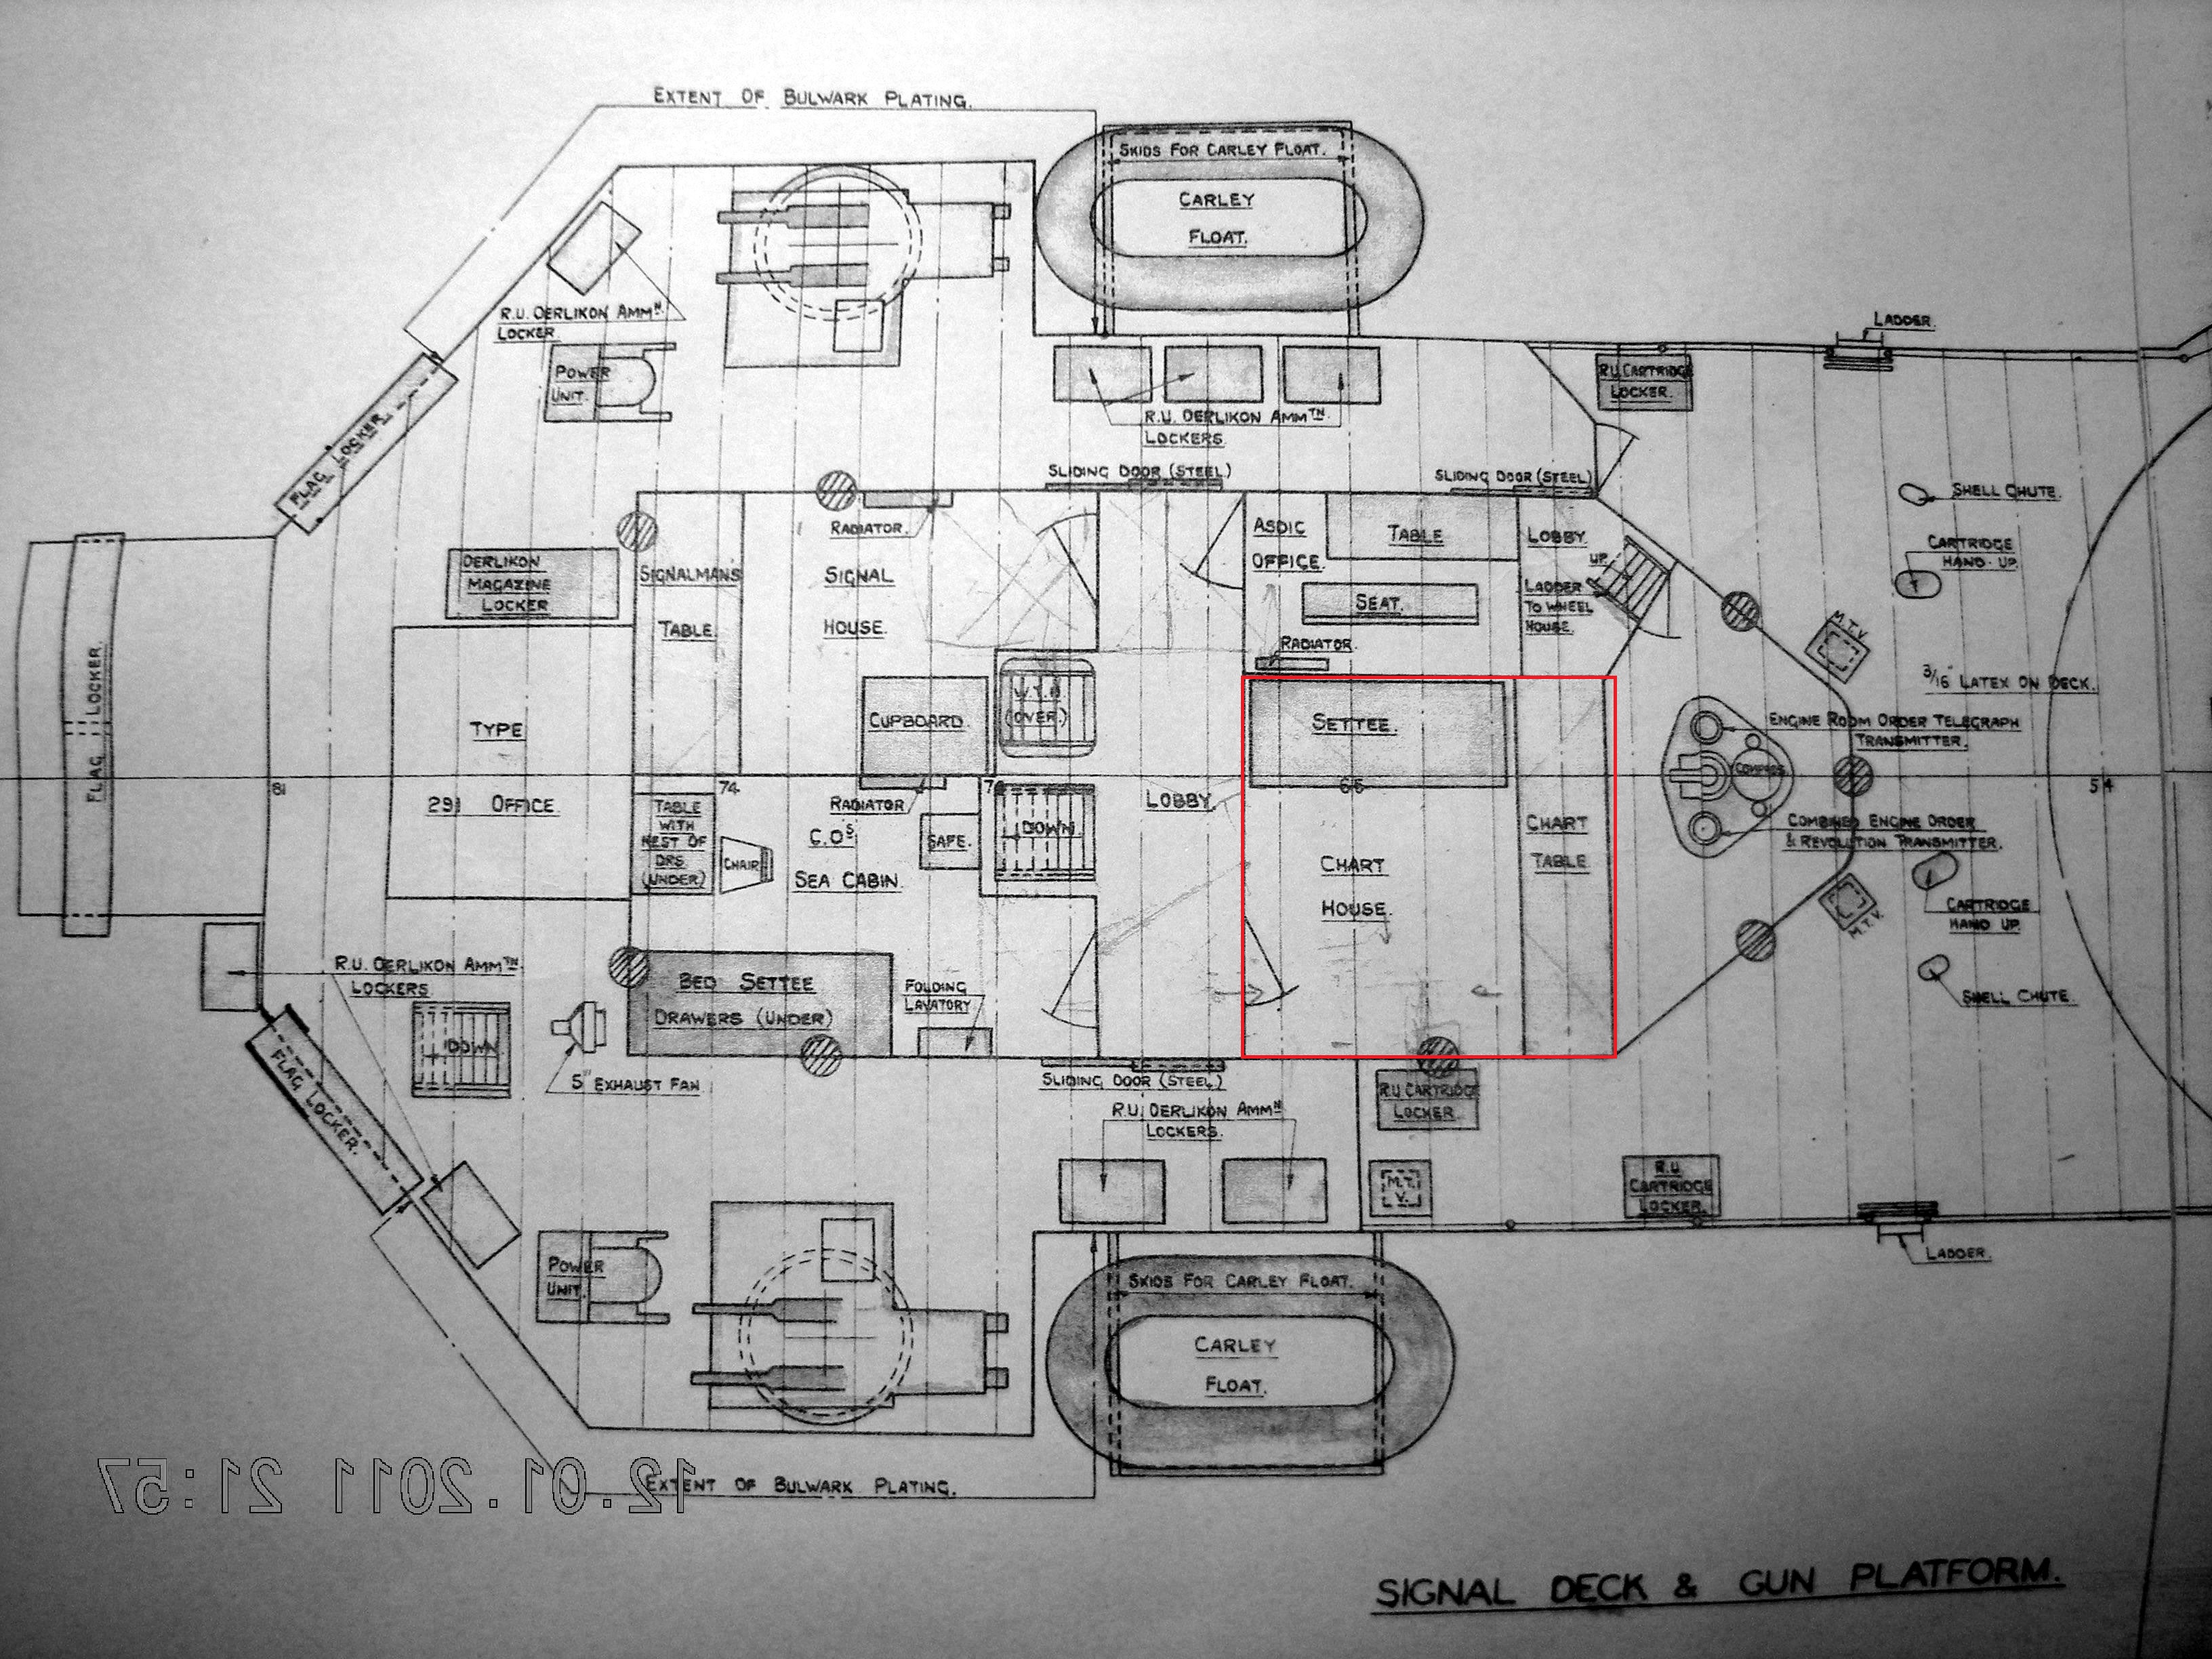 |
| INITIAL LOCATION: The initial location for
the Chart House was in the area currently called the Operations Room.
On-build, this area was actually called the "Plot" and from
the floor plan ,the Chart function seems to be a major occupant of the
space. In 1952 or thereabouts, the Plot became the Operations Room
and the Chart function only occupied a smaller amount of space. Thorough
an opening in the deckhead which is no longer there, bridge personnel could
view a plotting table.
There were also two ladders situated side by side. One was for access to the bridge from the Plot lobby while , the other was for access to lower decks. At some point in time, the ladders were rearranged so that they both occupied the same deck area. Today, a brass plate on the port side of the bridge covers the hole where the one ladder used to be. Click on image to enlarge. Later on, the Chart House name would change to Chartroom. |
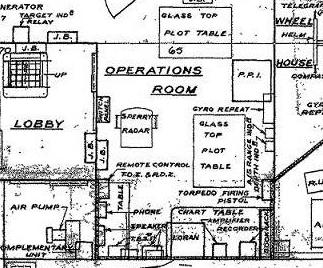 |
| INTERMEDIATE LOCATION: This extract from a 1952 drawing shows the Chart area as being in the Operations. Room. At some point after 1952, the function was moved to its final location now called the Chartroom. |
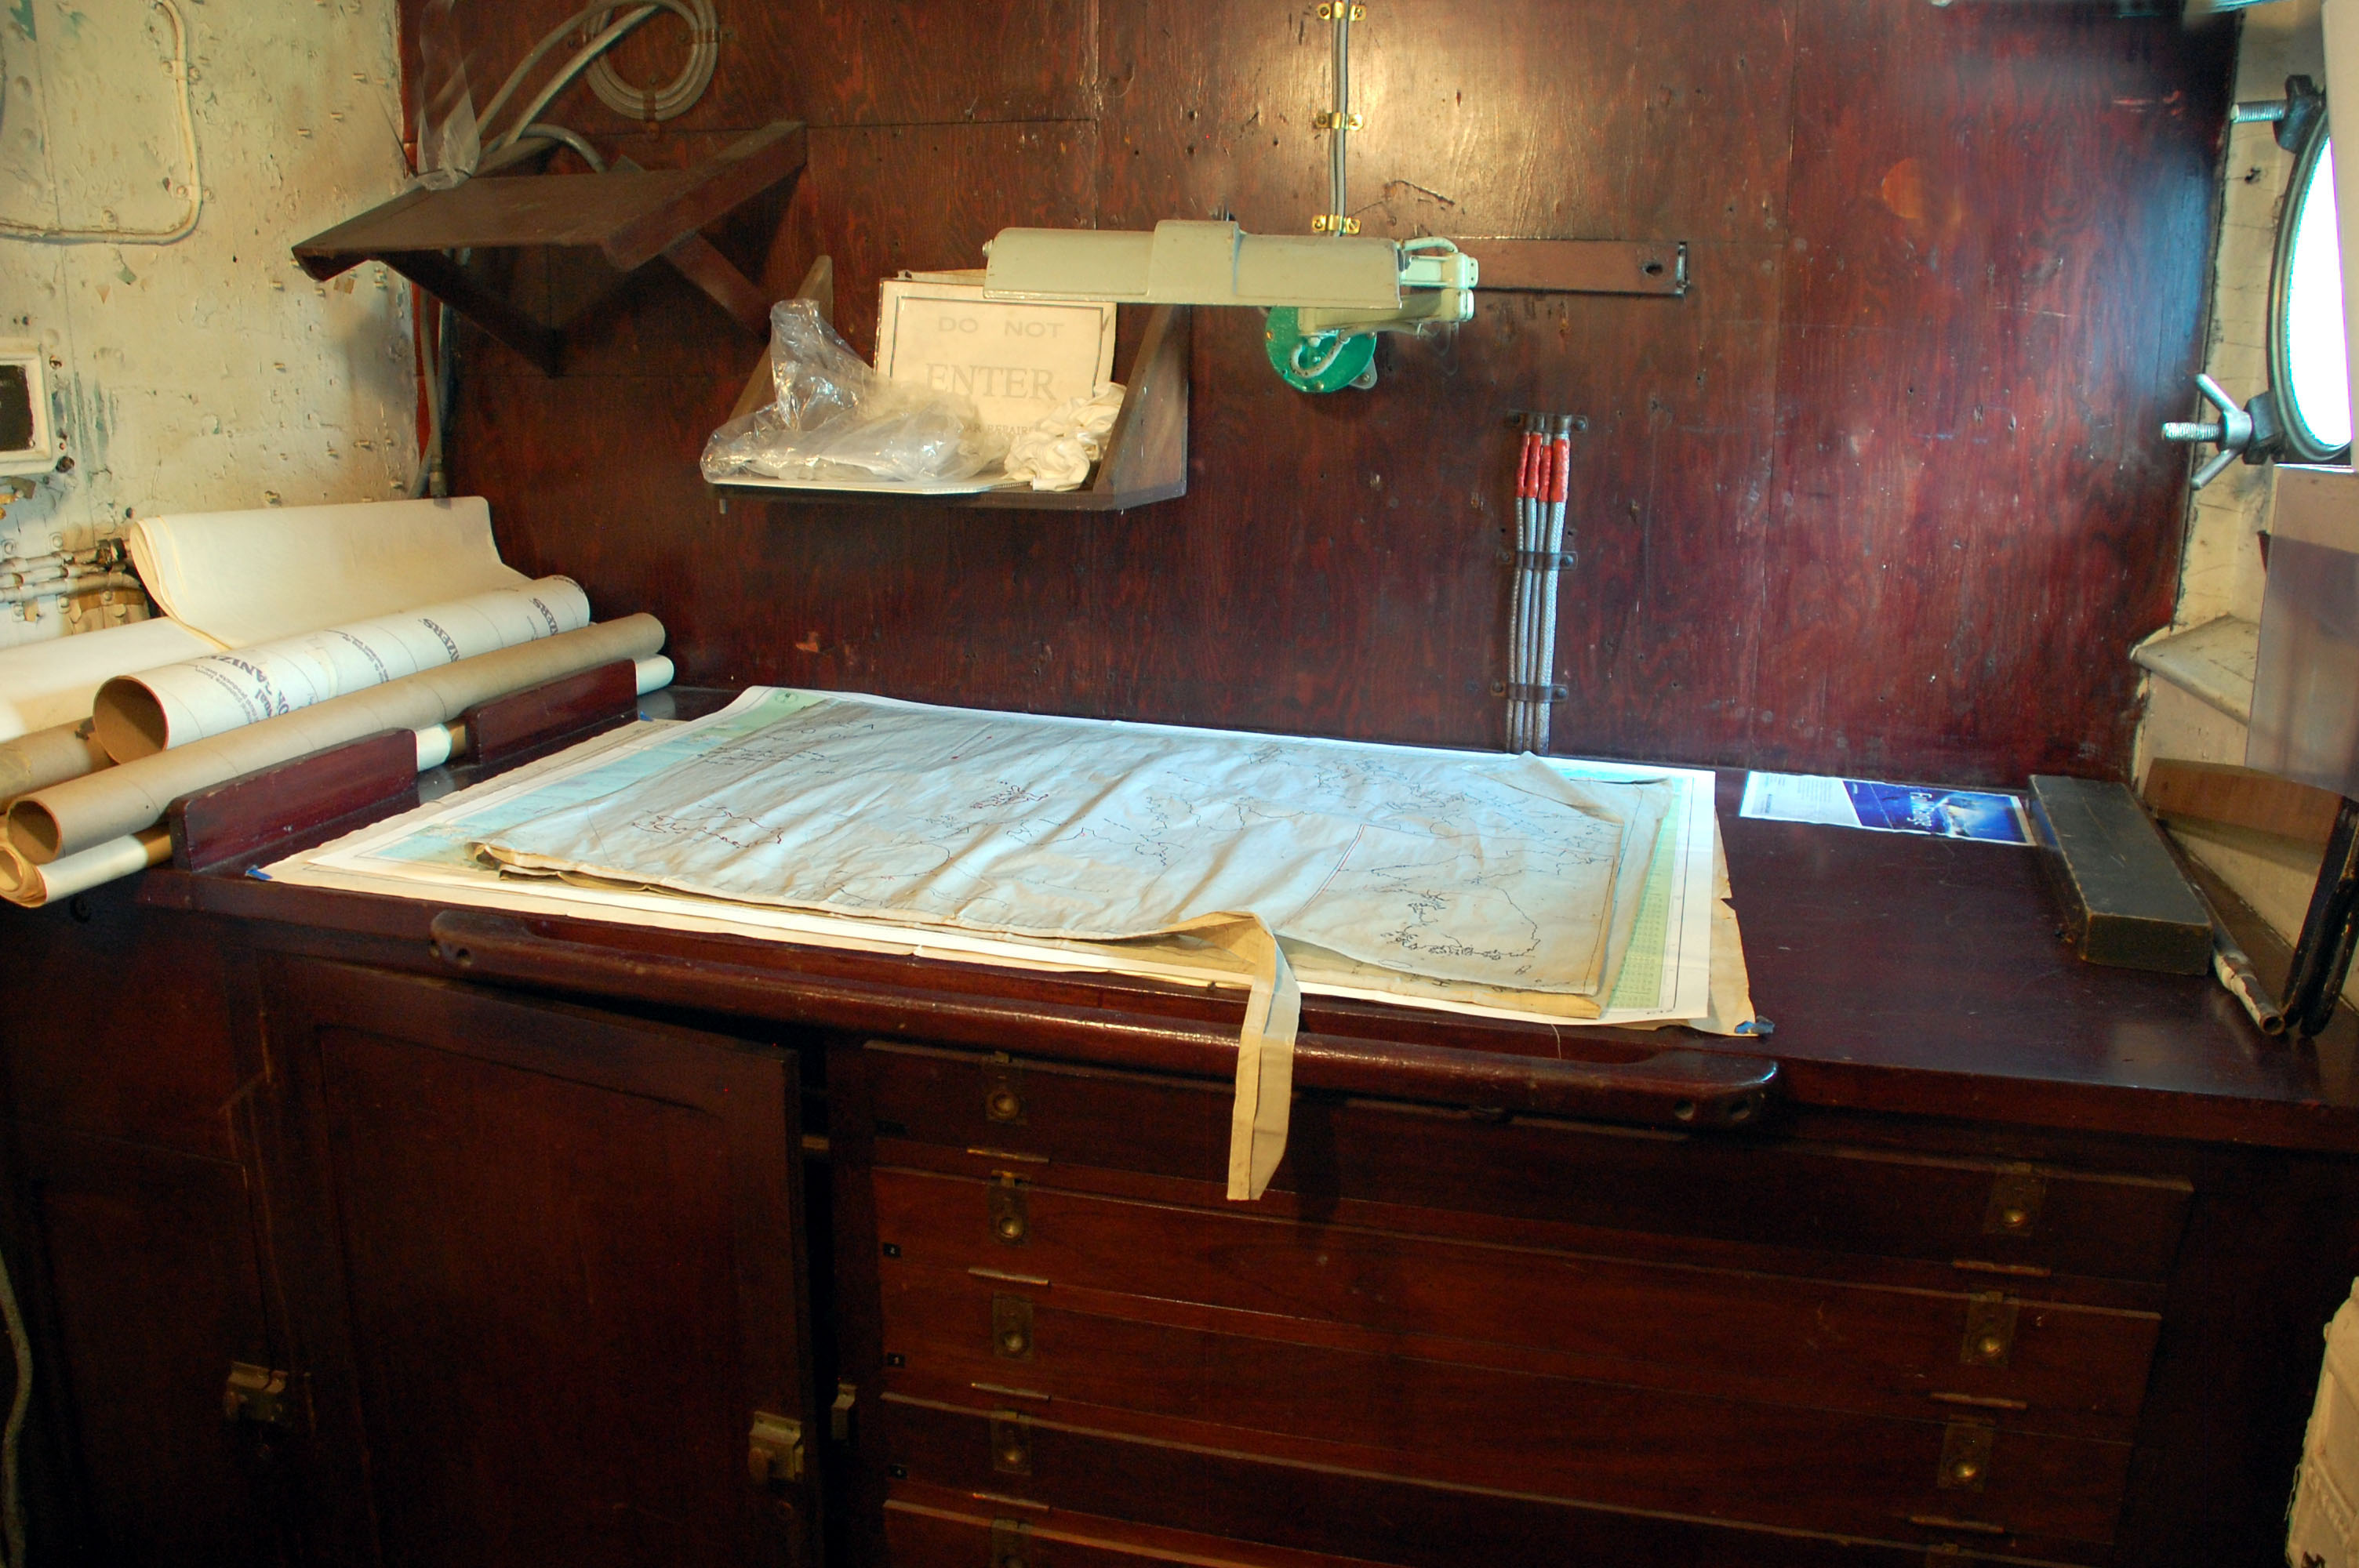 |
| FINAL LOCATION : The Charttrrom view looking aft. This was formerly the Gun Direction Room. The model DAS Loran 'A" receiver was positioned on a shelf at the upper left corner. (Photo by Jerry Proc) |
 |
| Model DAS Loran 'A' receiver. Looking for a donation of this receiver. Contact: jerry.proc@sympatico.ca |
The Chartroom was located on the flag deck , port side, adjacent to the Captain's sea cabin and Sonar Control Room. This is where the Navigation Officer did the majority of his work. The drawers in the table contained folios of charts of the regions of the world in which the ship was operating as well as other areas that the ship might be diverted to on short notice. The Navigator was responsible for the "Passage Plans", that is, determining the best course to travel from point 'A' to point 'B'. In addition, the Navigator supervised the Navigator's Yeoman who was trained to correct or update the charts carried aboard. At the top of the left side is a shelve on which sat the Loran 'A' Navigation receiver. Loran 'A' was discontinued in the mid 1980s.The Navigating Officer was also known as "Pilot", This officer, usually a Lieutenant, was responsible for all aspects of the ship's navigation. He was responsible for keeping the charts and sailing instructions up to date along with the maintenance and testing of all the compasses. He was usually the best ship handler after the Captain as he had more experience. In action, he served as the Officer of the watch.
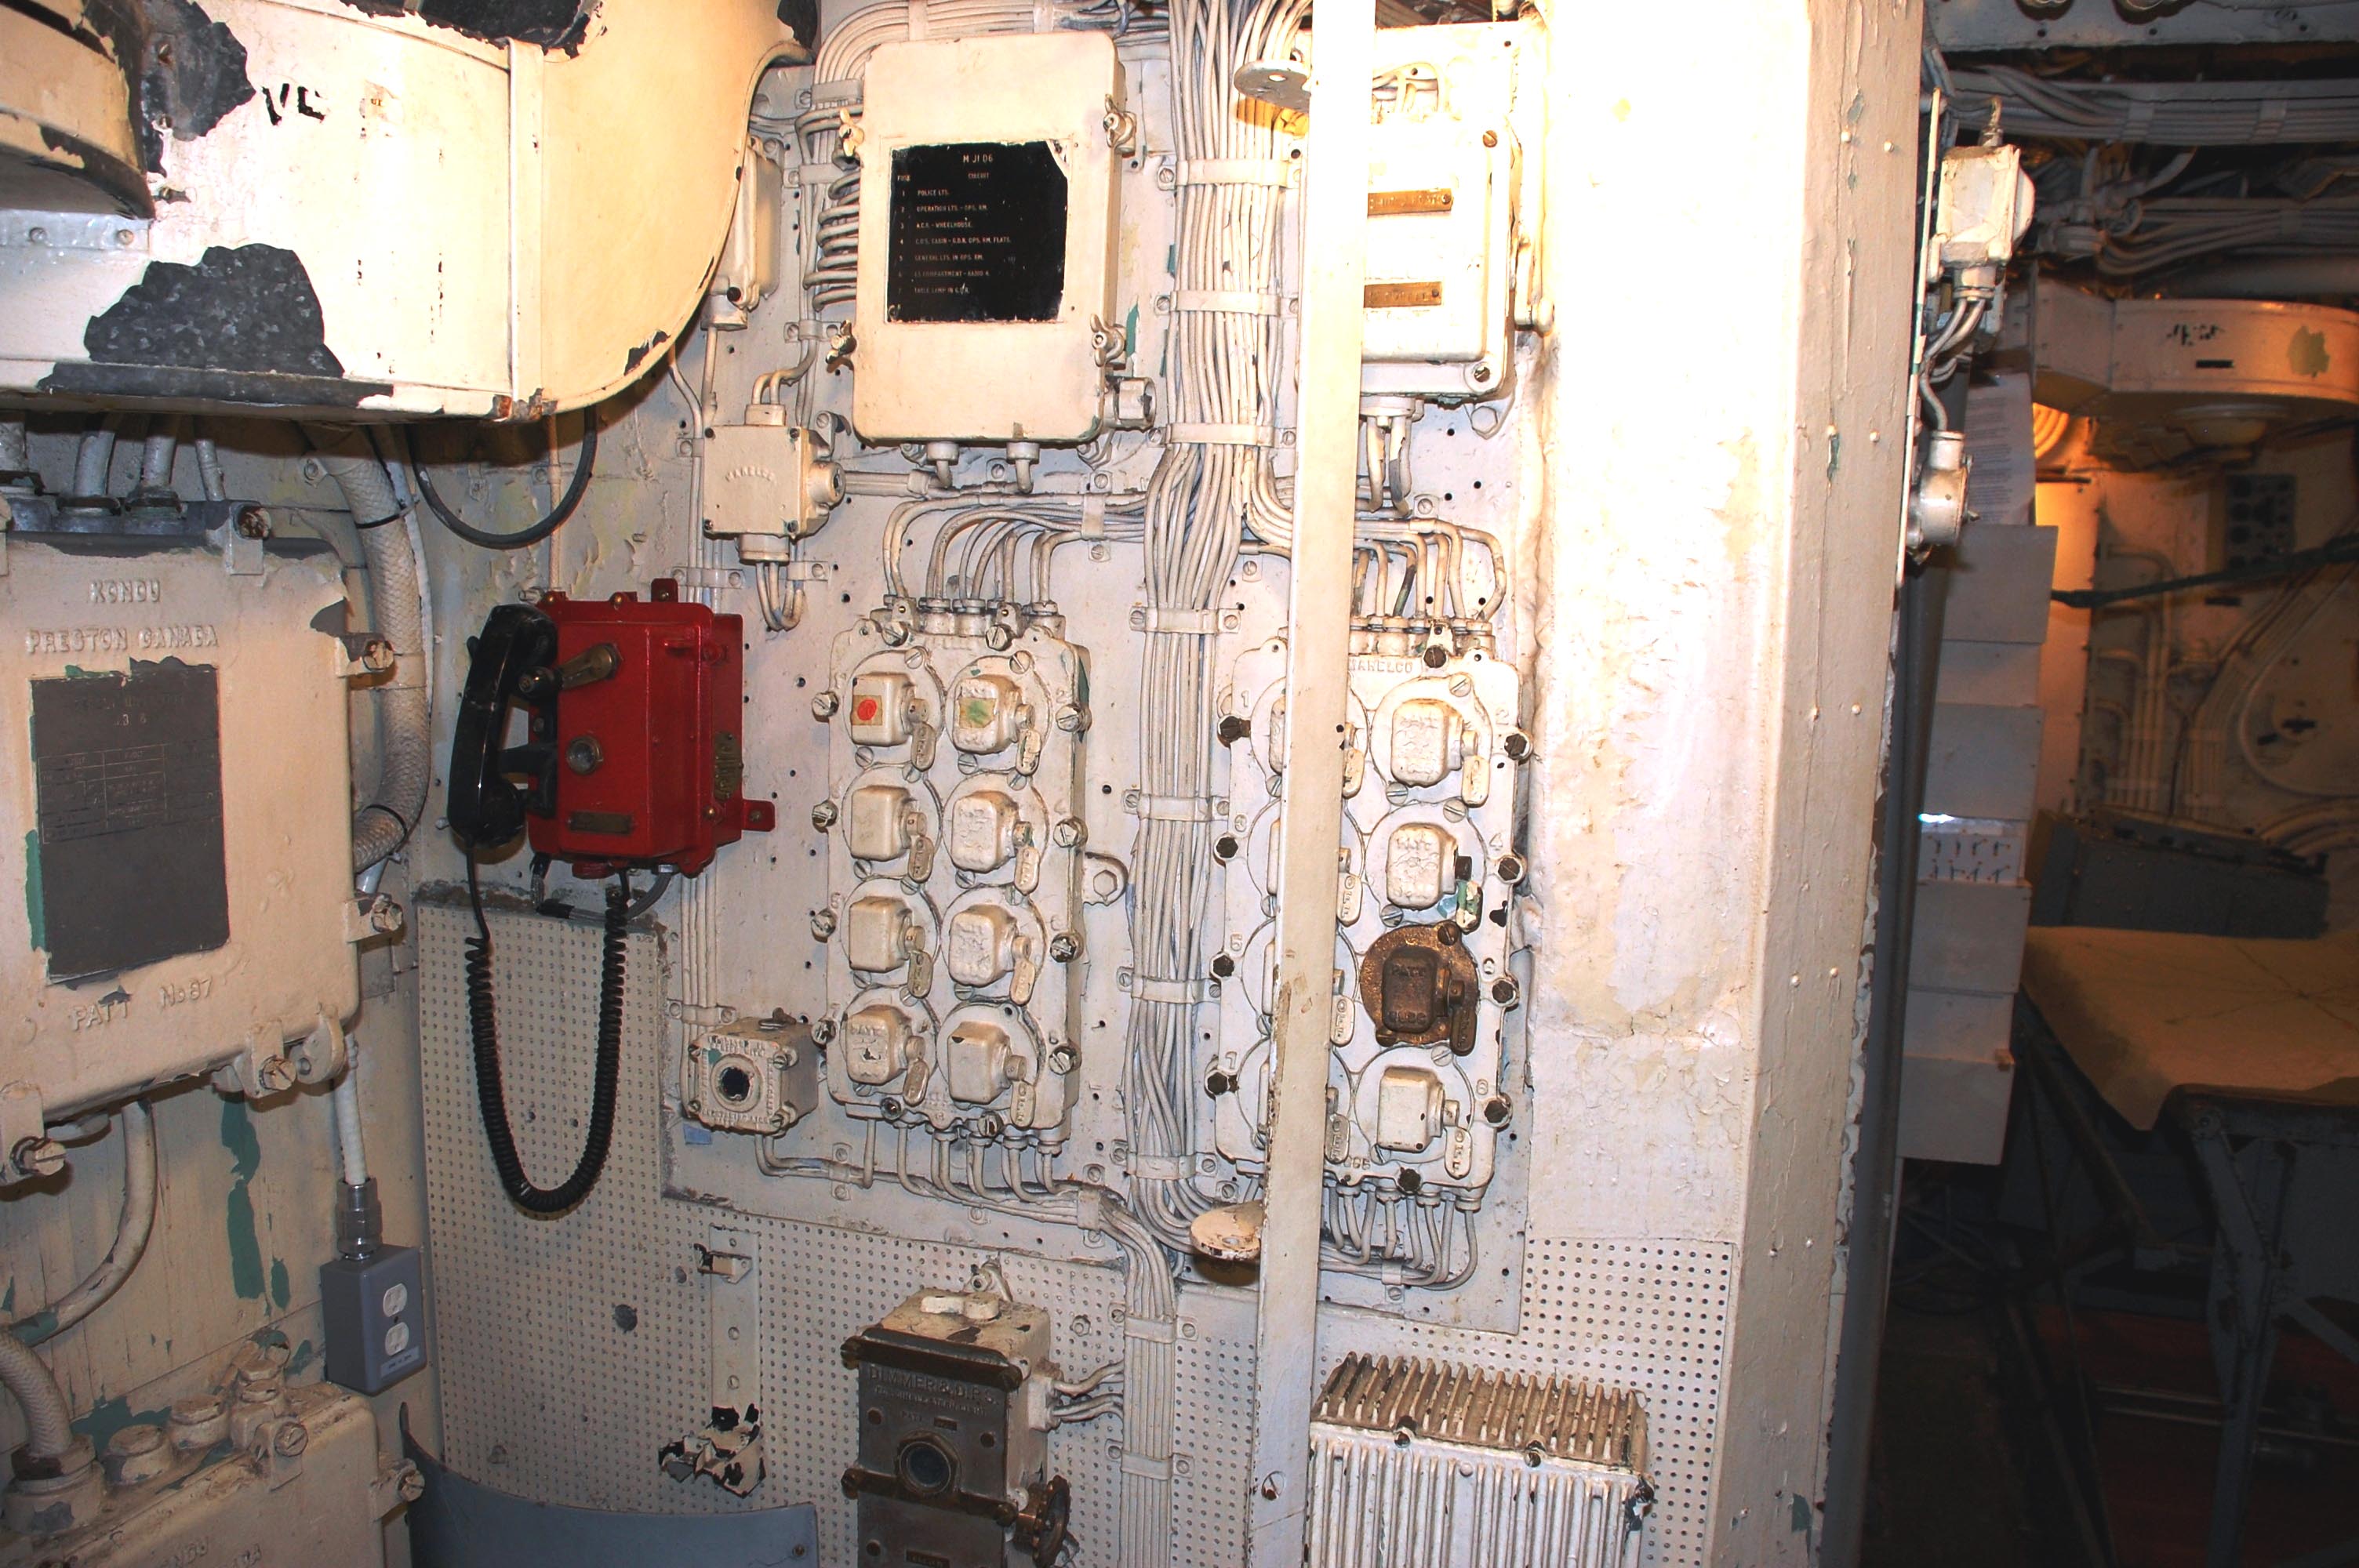 |
| All the switches and dimmers for the navigation lights were situated
on the forward bulkhead of the Chartroom. Each switch controlled
one light. There is a master switch on the starboard side of the
bridge that controlled the power supply to all these switches. It
was functional until Parks Canada modified the electrical system in 2019.Click
on image to enlarge. (Photo by Jerry Proc)
The bow and stern lights would be the only ones on when the ship was in harbour. When underway, the port, starboard and masthead lights were all on . |
CHRONOMETERS
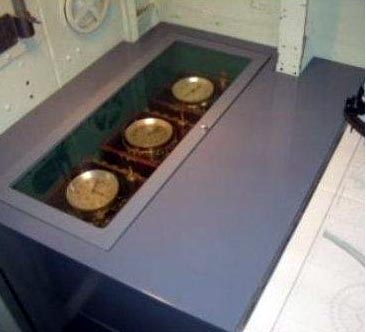 |
On the left side of the chart table was a
chronometer bay which housed three chronometers. HAIDA's fitting would
have looked like this example. Accurate time was necessary to determine
Longitude.
The chronometer, a very precise mechanical clock, was used in astrological navigation where a difference of a few seconds in a star sighting made a considerable difference in position. Lacking today's technology, all chronometers gained or lost time so by taking the average of three, you reduced the time error. The corrected time was then applied to what was called a "Deck Watch" which was the actual instrument used for time when taking sights. You needed two people for a sight - one using the sextant and the other with the Deck Watch. Every opportunity was taken to compare chronometers with actual time and compute the gain or loss rate for each so that one could deduce the actual error at any given time. |
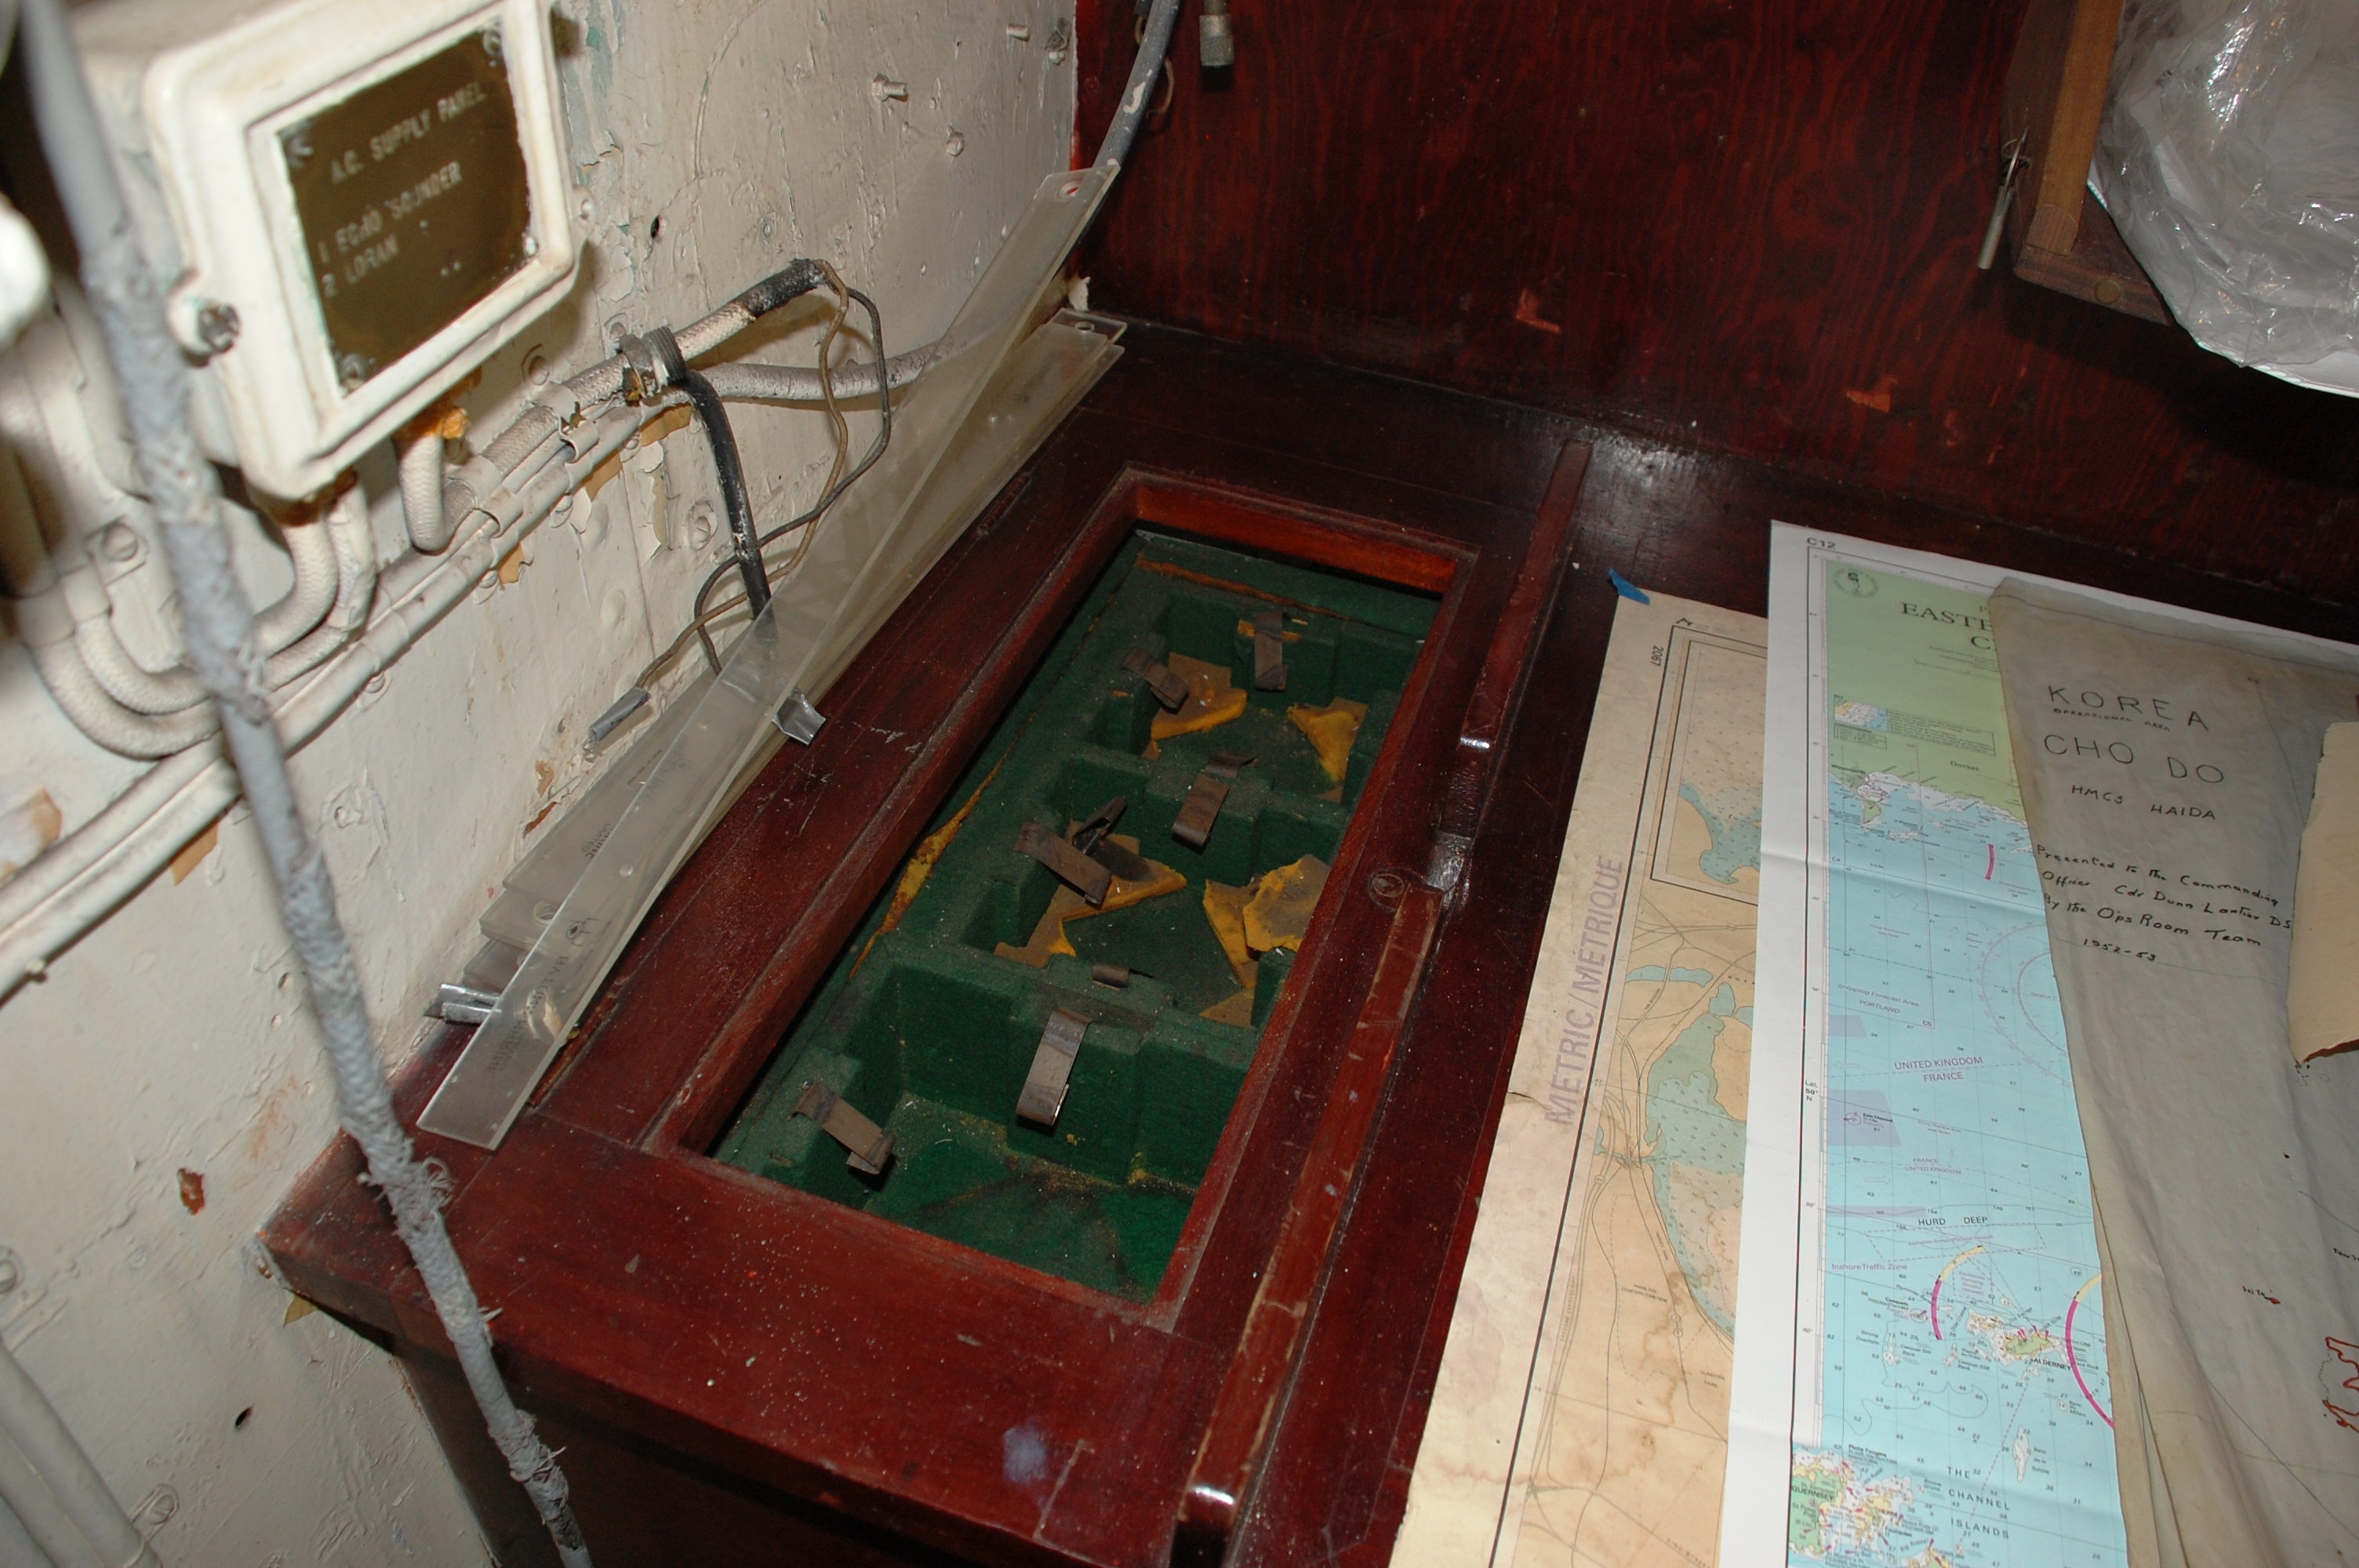 |
| This is HAIDA's actual chronometer bay. Missing of course are the three chronometers. (Photo by Jerry Proc) |
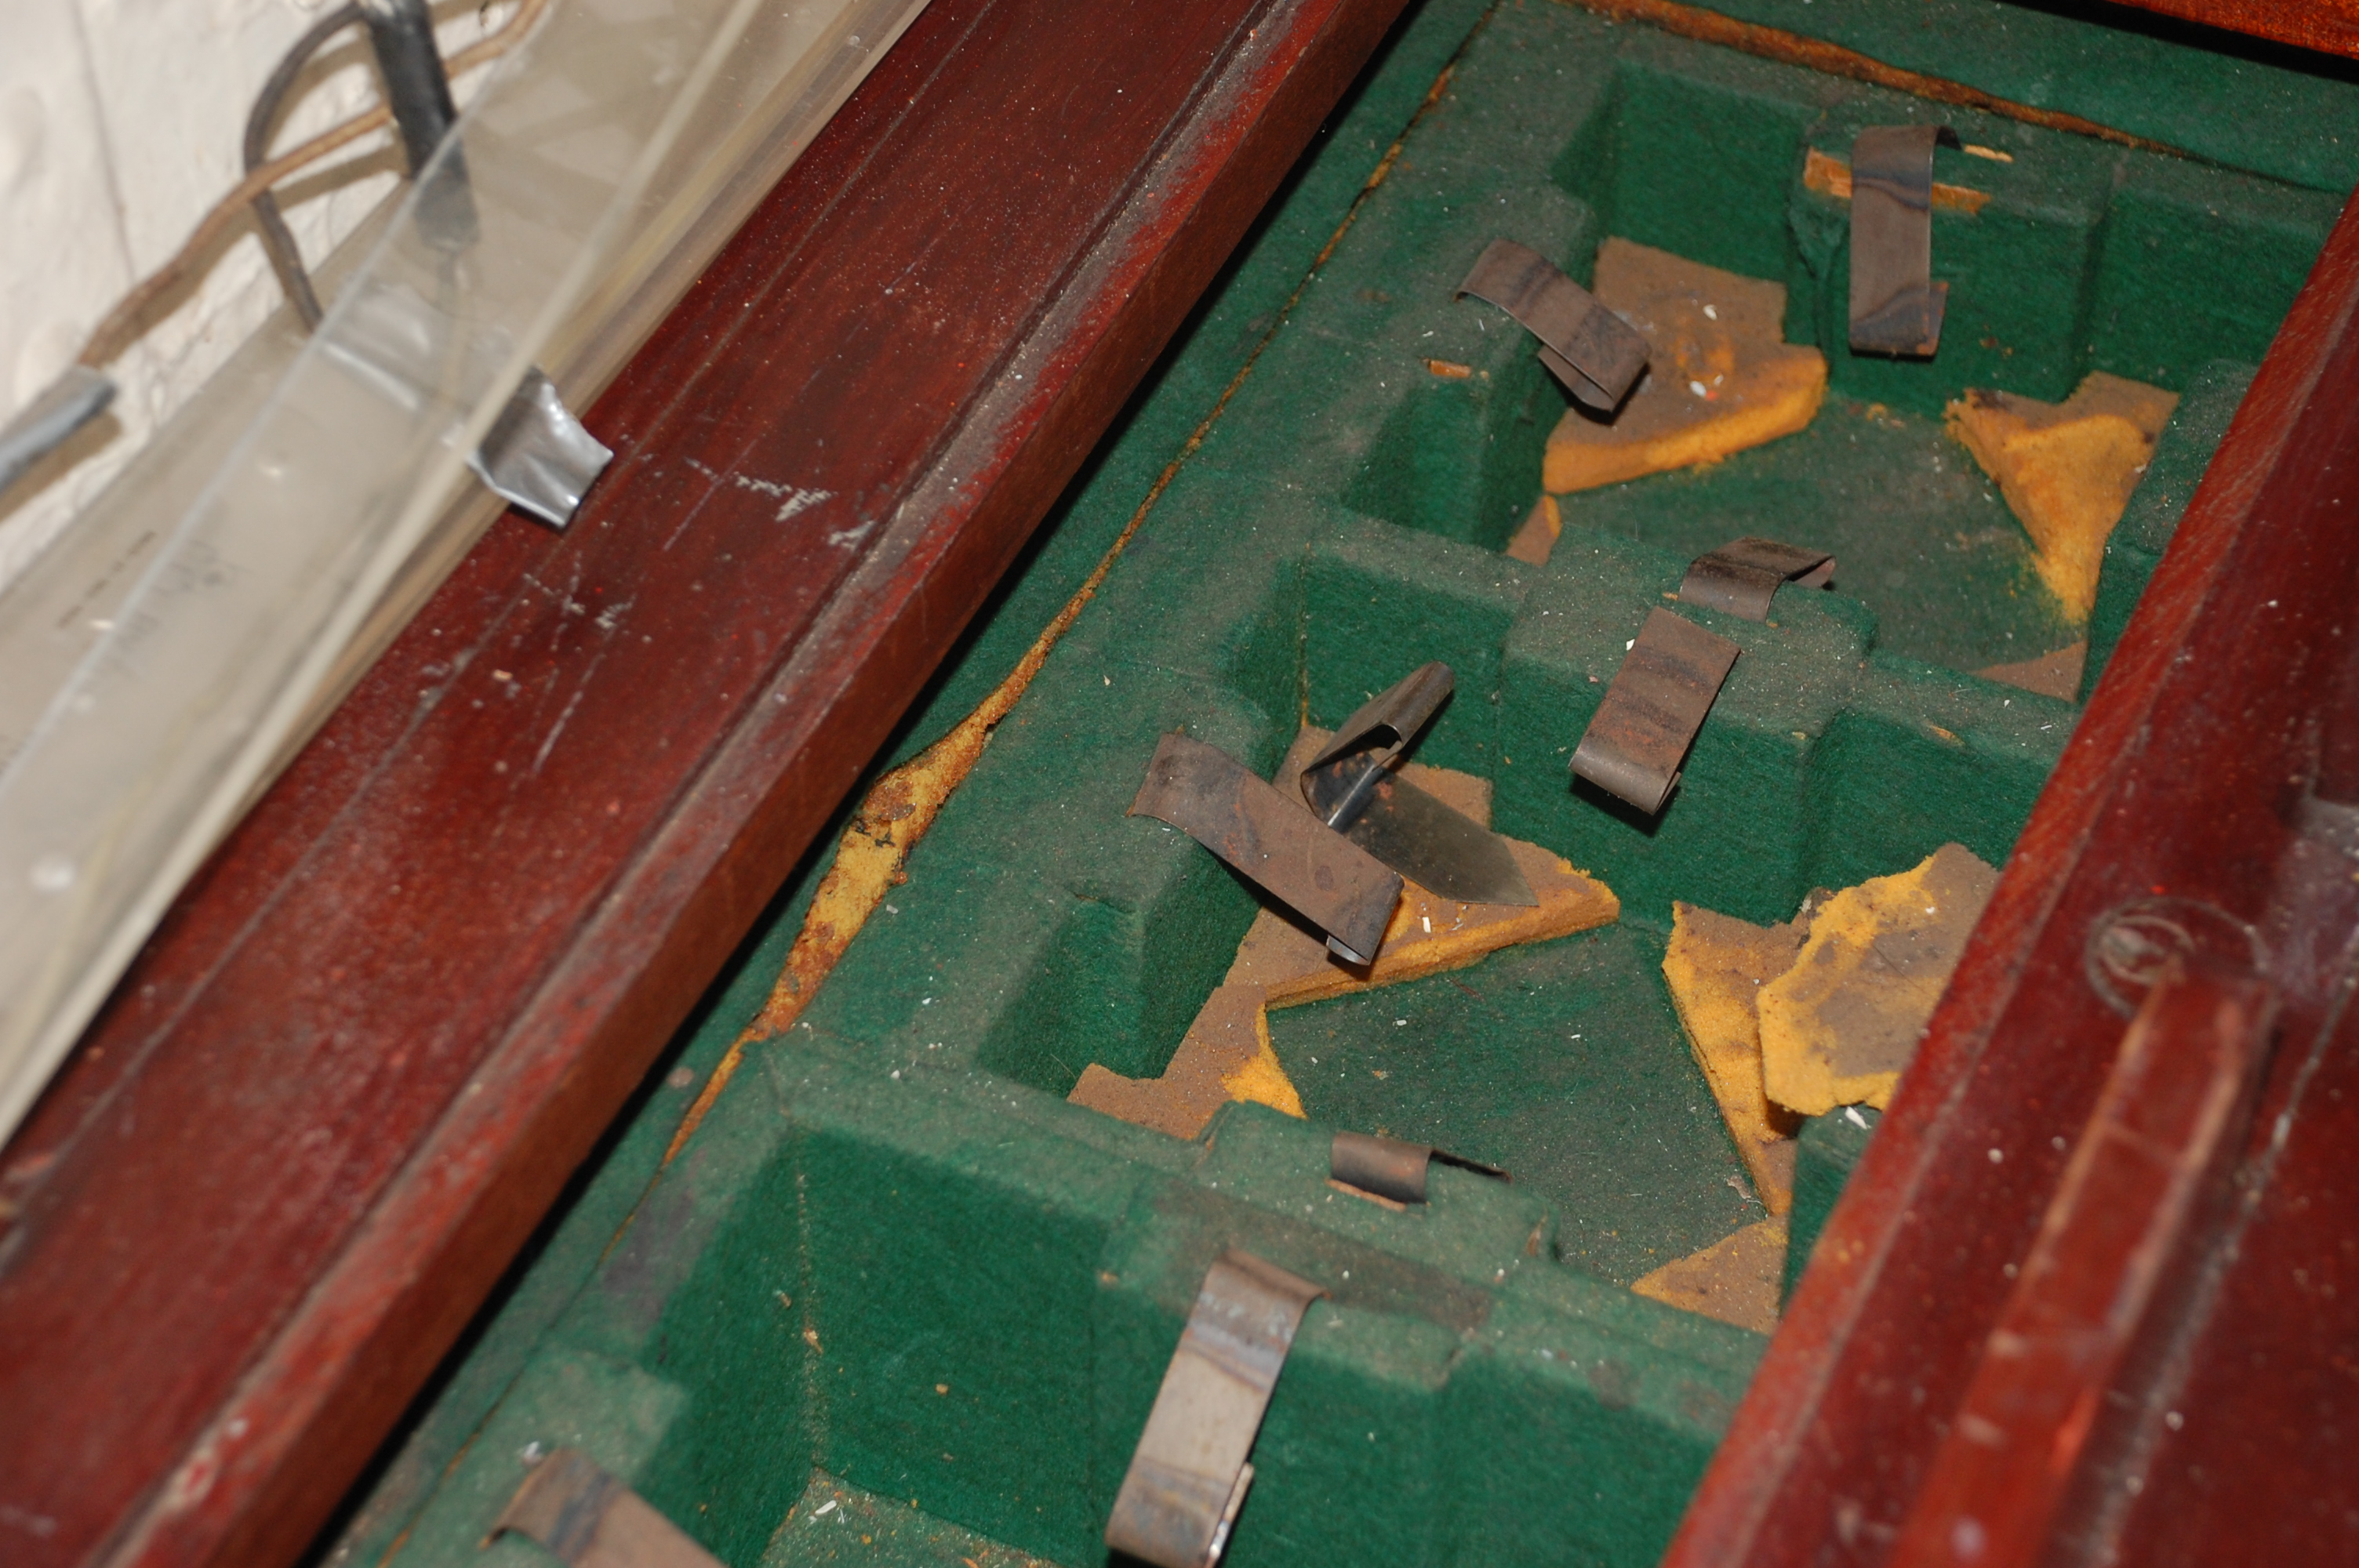 |
| This closeup view shows that the chronometers were cradled with metallic fingers and sponge to absorb vibration generated by the ship. (Photo by Jerry Proc) |
Chronometers ware set to GMT (now called UTC-meaning Universal Coordinated Time) and never ever stopped or allowed to run down. They would be received into the ship from the Chronometer shop, running, rated and set. The Navigators Yeoman would wind, read, and record the chronometer time daily against GMT noting the difference and rate of change to GMT as the inherent error in the chronometer applied itself. GMT reference was obtained from time signal radio stations like CHU (Canada) or WWV (US). The chronometers could also used to check the ships clocks that operated in GMT time.TARGET DESIGNATION RELAY BOXES
Co-located in the Chartroom are the Target Designations Relay boxes. They are situated on the starboard bulkhead of the Chartroom and are part of the Mk63 Fire Control System.
Contributors: or Credits1) Jim Brewer
2) Peter Dixon - HAIDA Docent Manual 1999
3) Neil Bell <rcnr(at)rogers.com>
4) Robert Stacey <[rwstacey(at) shaw.caAug 6/21